
Grand Trunk Nano-7 Review: A Long-Term Owner’s Take on Lounging and Overnight Use
Published by Michael Rittenhouse in review the 10/13/2026 at 23:33
Affiliate disclosure: Wanderlust Hammocks may earn a commission if you buy through links on this page. It does not change what you pay or the advice here.
I bought my Nano-7 in 2010, ahead of my first CFITT race in 2011. When I opened it, I realized the hammock itself fit comfortably in a cycling jersey pocket—and could be the starting point for an overnight setup. From then on, it went with me, whatever I was heading out to do.
That small nylon hammock became more than a bikepacking accessory. I made bug protection, experimented with insulation and added a rain fly to make it useful for more adventures. I still have the original hammock, and it has never needed a single repair.
Its appeal has always been how easy it is to bring along. Its limit, for me, is the point where its compact size compromises the rest I need for the trip. Here is what the hammock offers, what I added, and why I sometimes choose another system.
Watch the Nano-7 in use
Some gear becomes part of the family. Here’s my Nano-7 in action with my daughter Mikelle, who caught the hammock bug too.
The Nano-7 itself: fabric, carabiners and packed size
The basic design is a fabric hammock with gathered ends and a stuff sack. There is no built-in rain cover or bug enclosure. That simplicity leaves you free to carry it for a short stop or add the protection an overnight trip needs.
For reference, Grand Trunk’s current Nano-7 specifications list:
- A 9-foot by 4-foot body made from 1.5-ounce ripstop nylon.
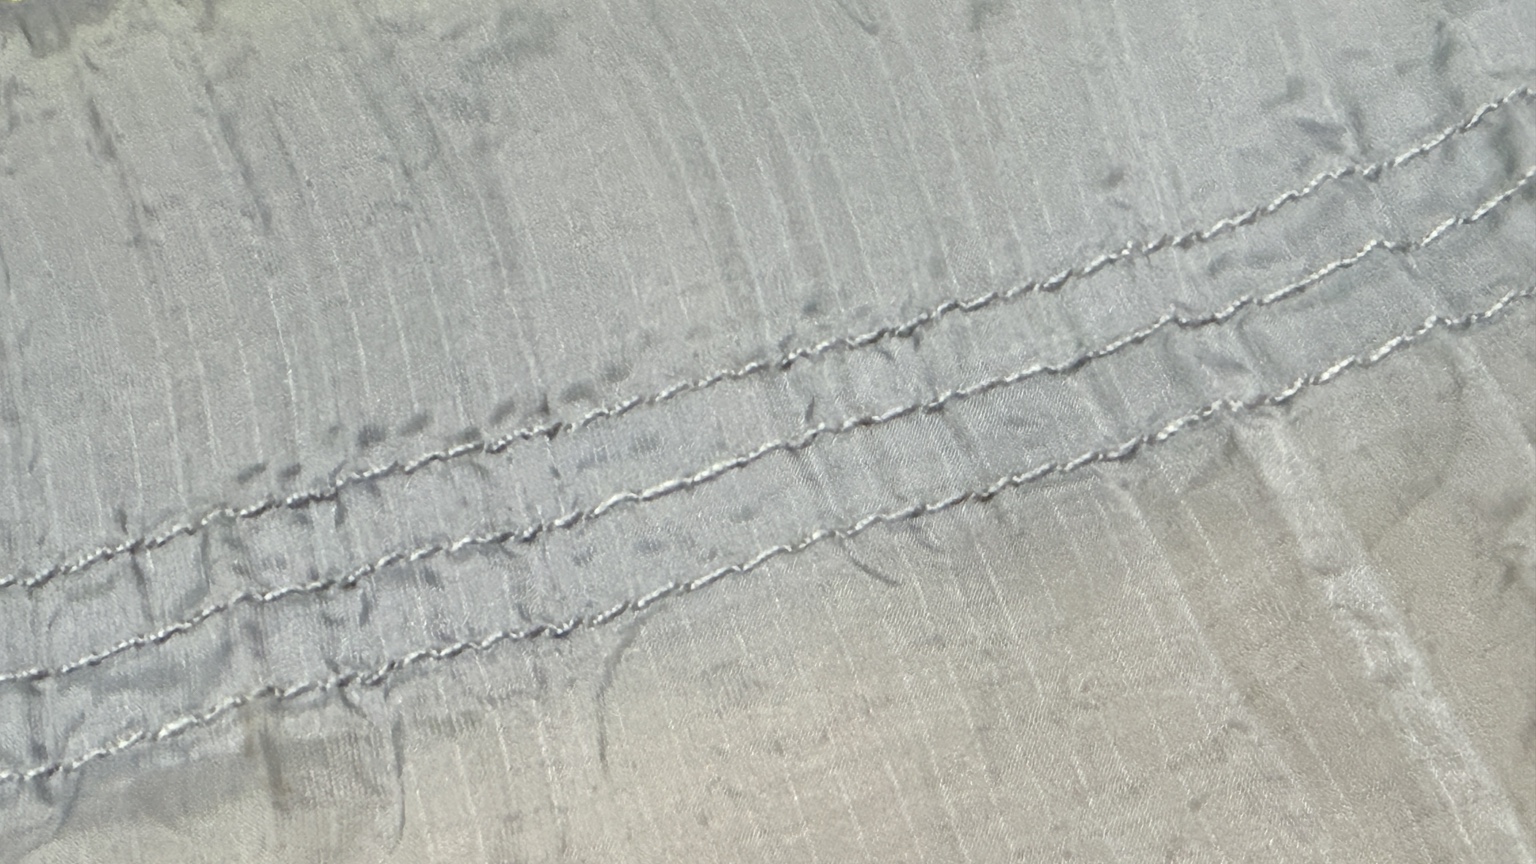
- Triple-lock stitched seams.
- Two ultralight wiregate carabiners.
- A listed weight of 7.3 ounces and stuff-sack dimensions of 6 by 4 inches.
- Single-person lounging use and a 300-pound capacity.
- Hanging straps sold separately.
Those are the current manufacturer specifications; the long-term experience here is with my original 2010 hammock. See our Nano-7 listing for current details and buying options.
My original hammock laid out for measurement
I laid my own Nano-7 out on the floor and photographed it beside a tape measure. These photographs show the older hammock I actually own, separately from the current manufacturer specifications above.
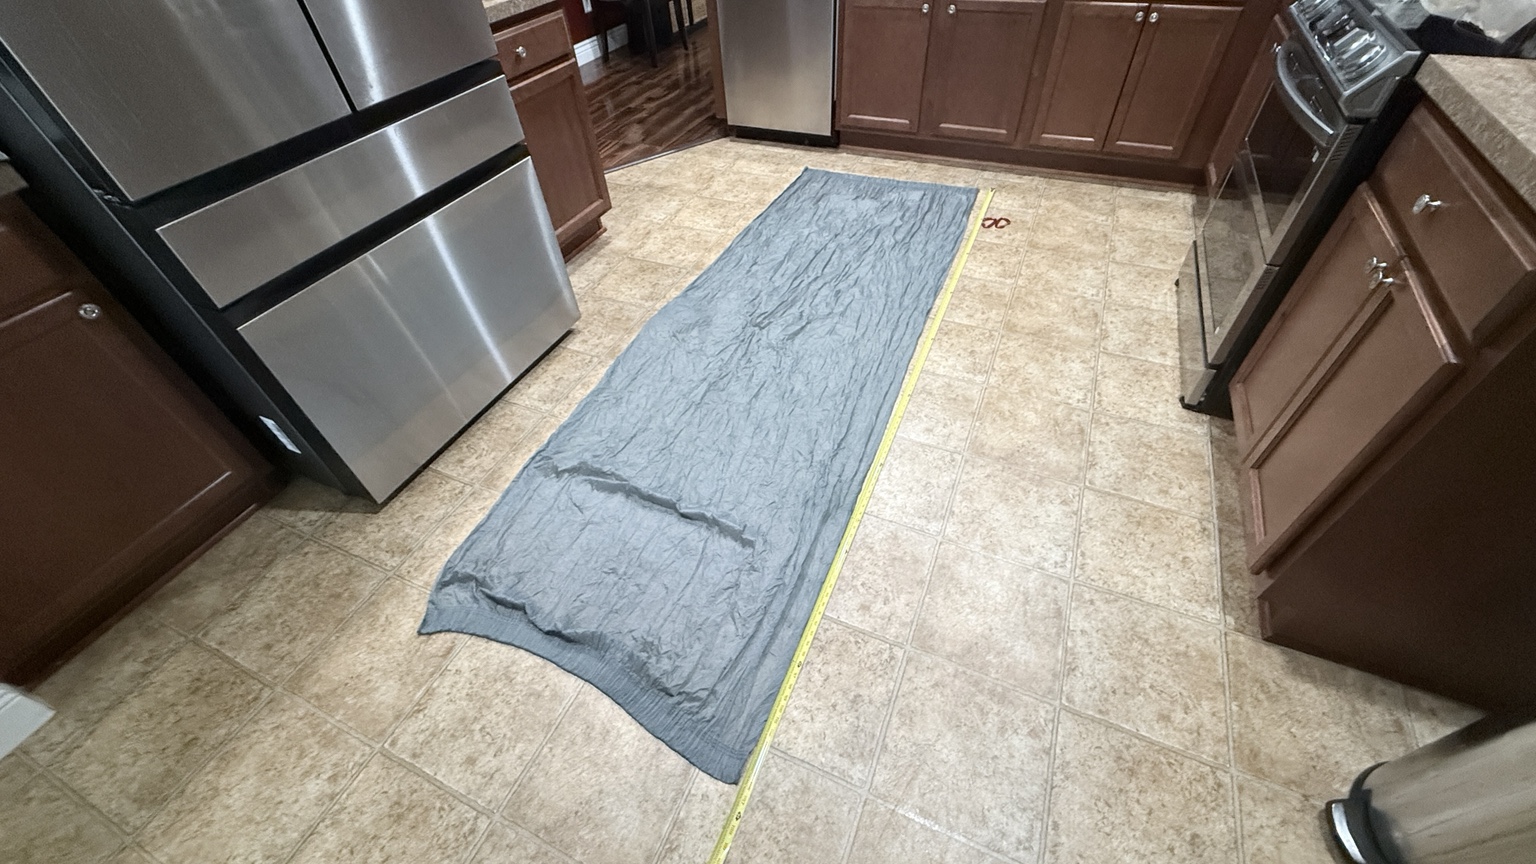
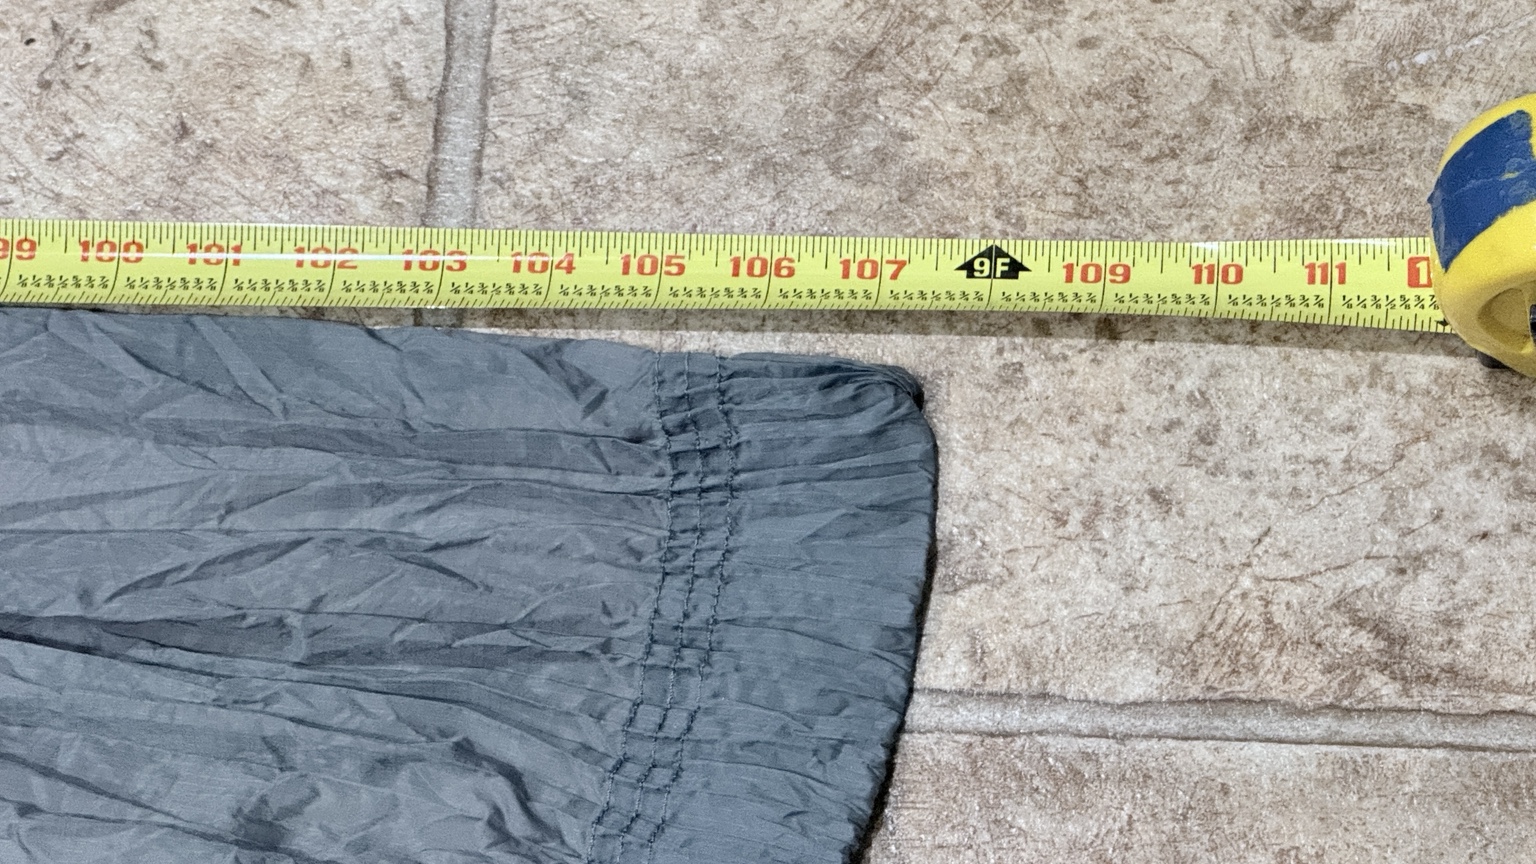
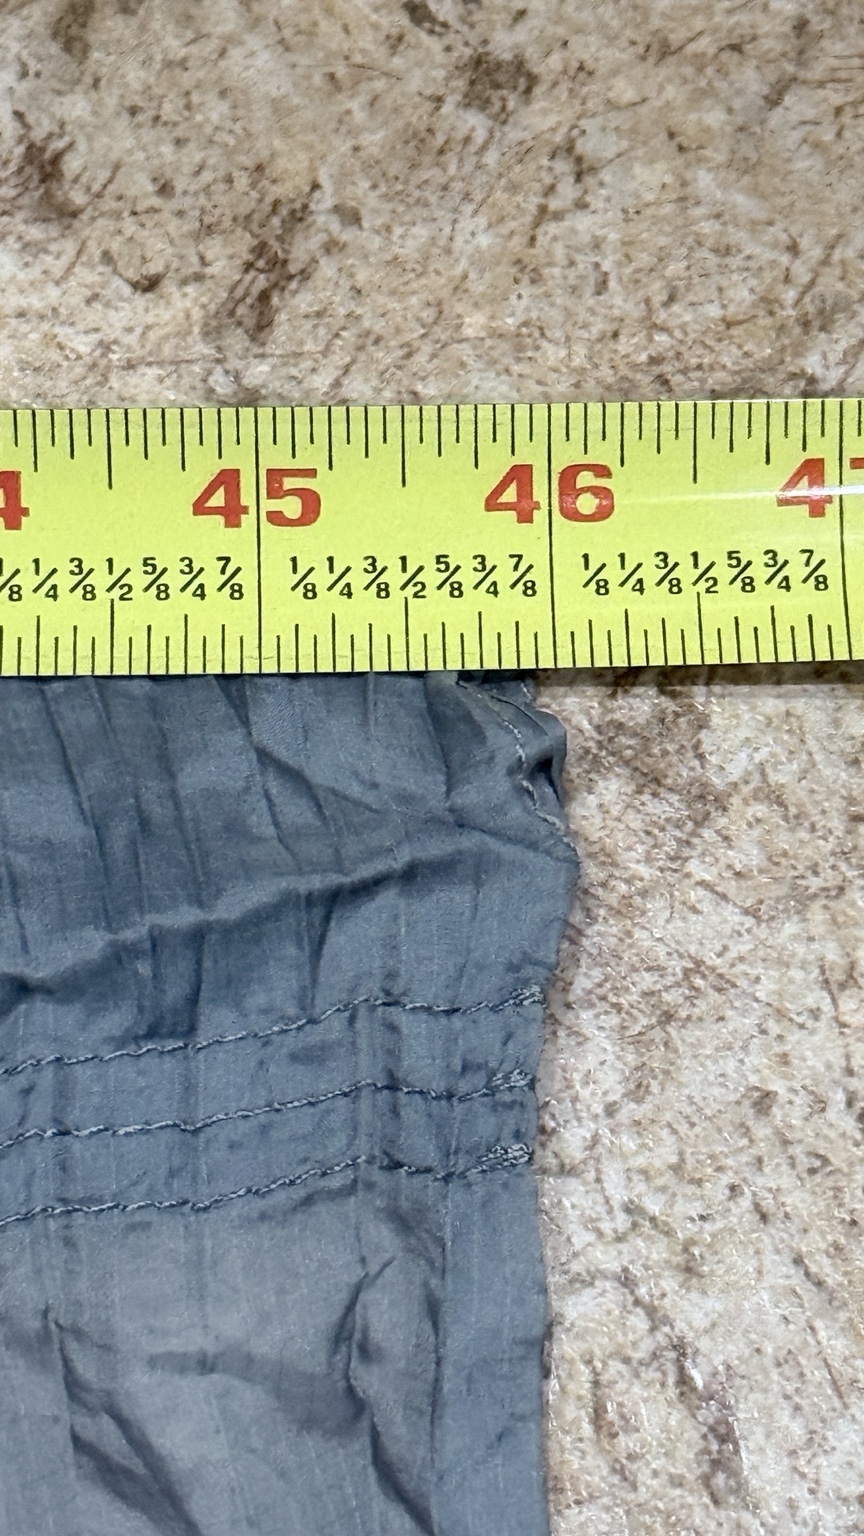
My original Nano-7 on the scale
I photographed my own packed Nano-7 on a kitchen scale rather than relying only on the current product listing. The scale reads 7.20 ounces in the photograph below. That records the packed bundle as weighed; it is not the weight of a complete overnight shelter. Tree straps, bug protection, rain cover and insulation need to be counted separately when comparing systems.
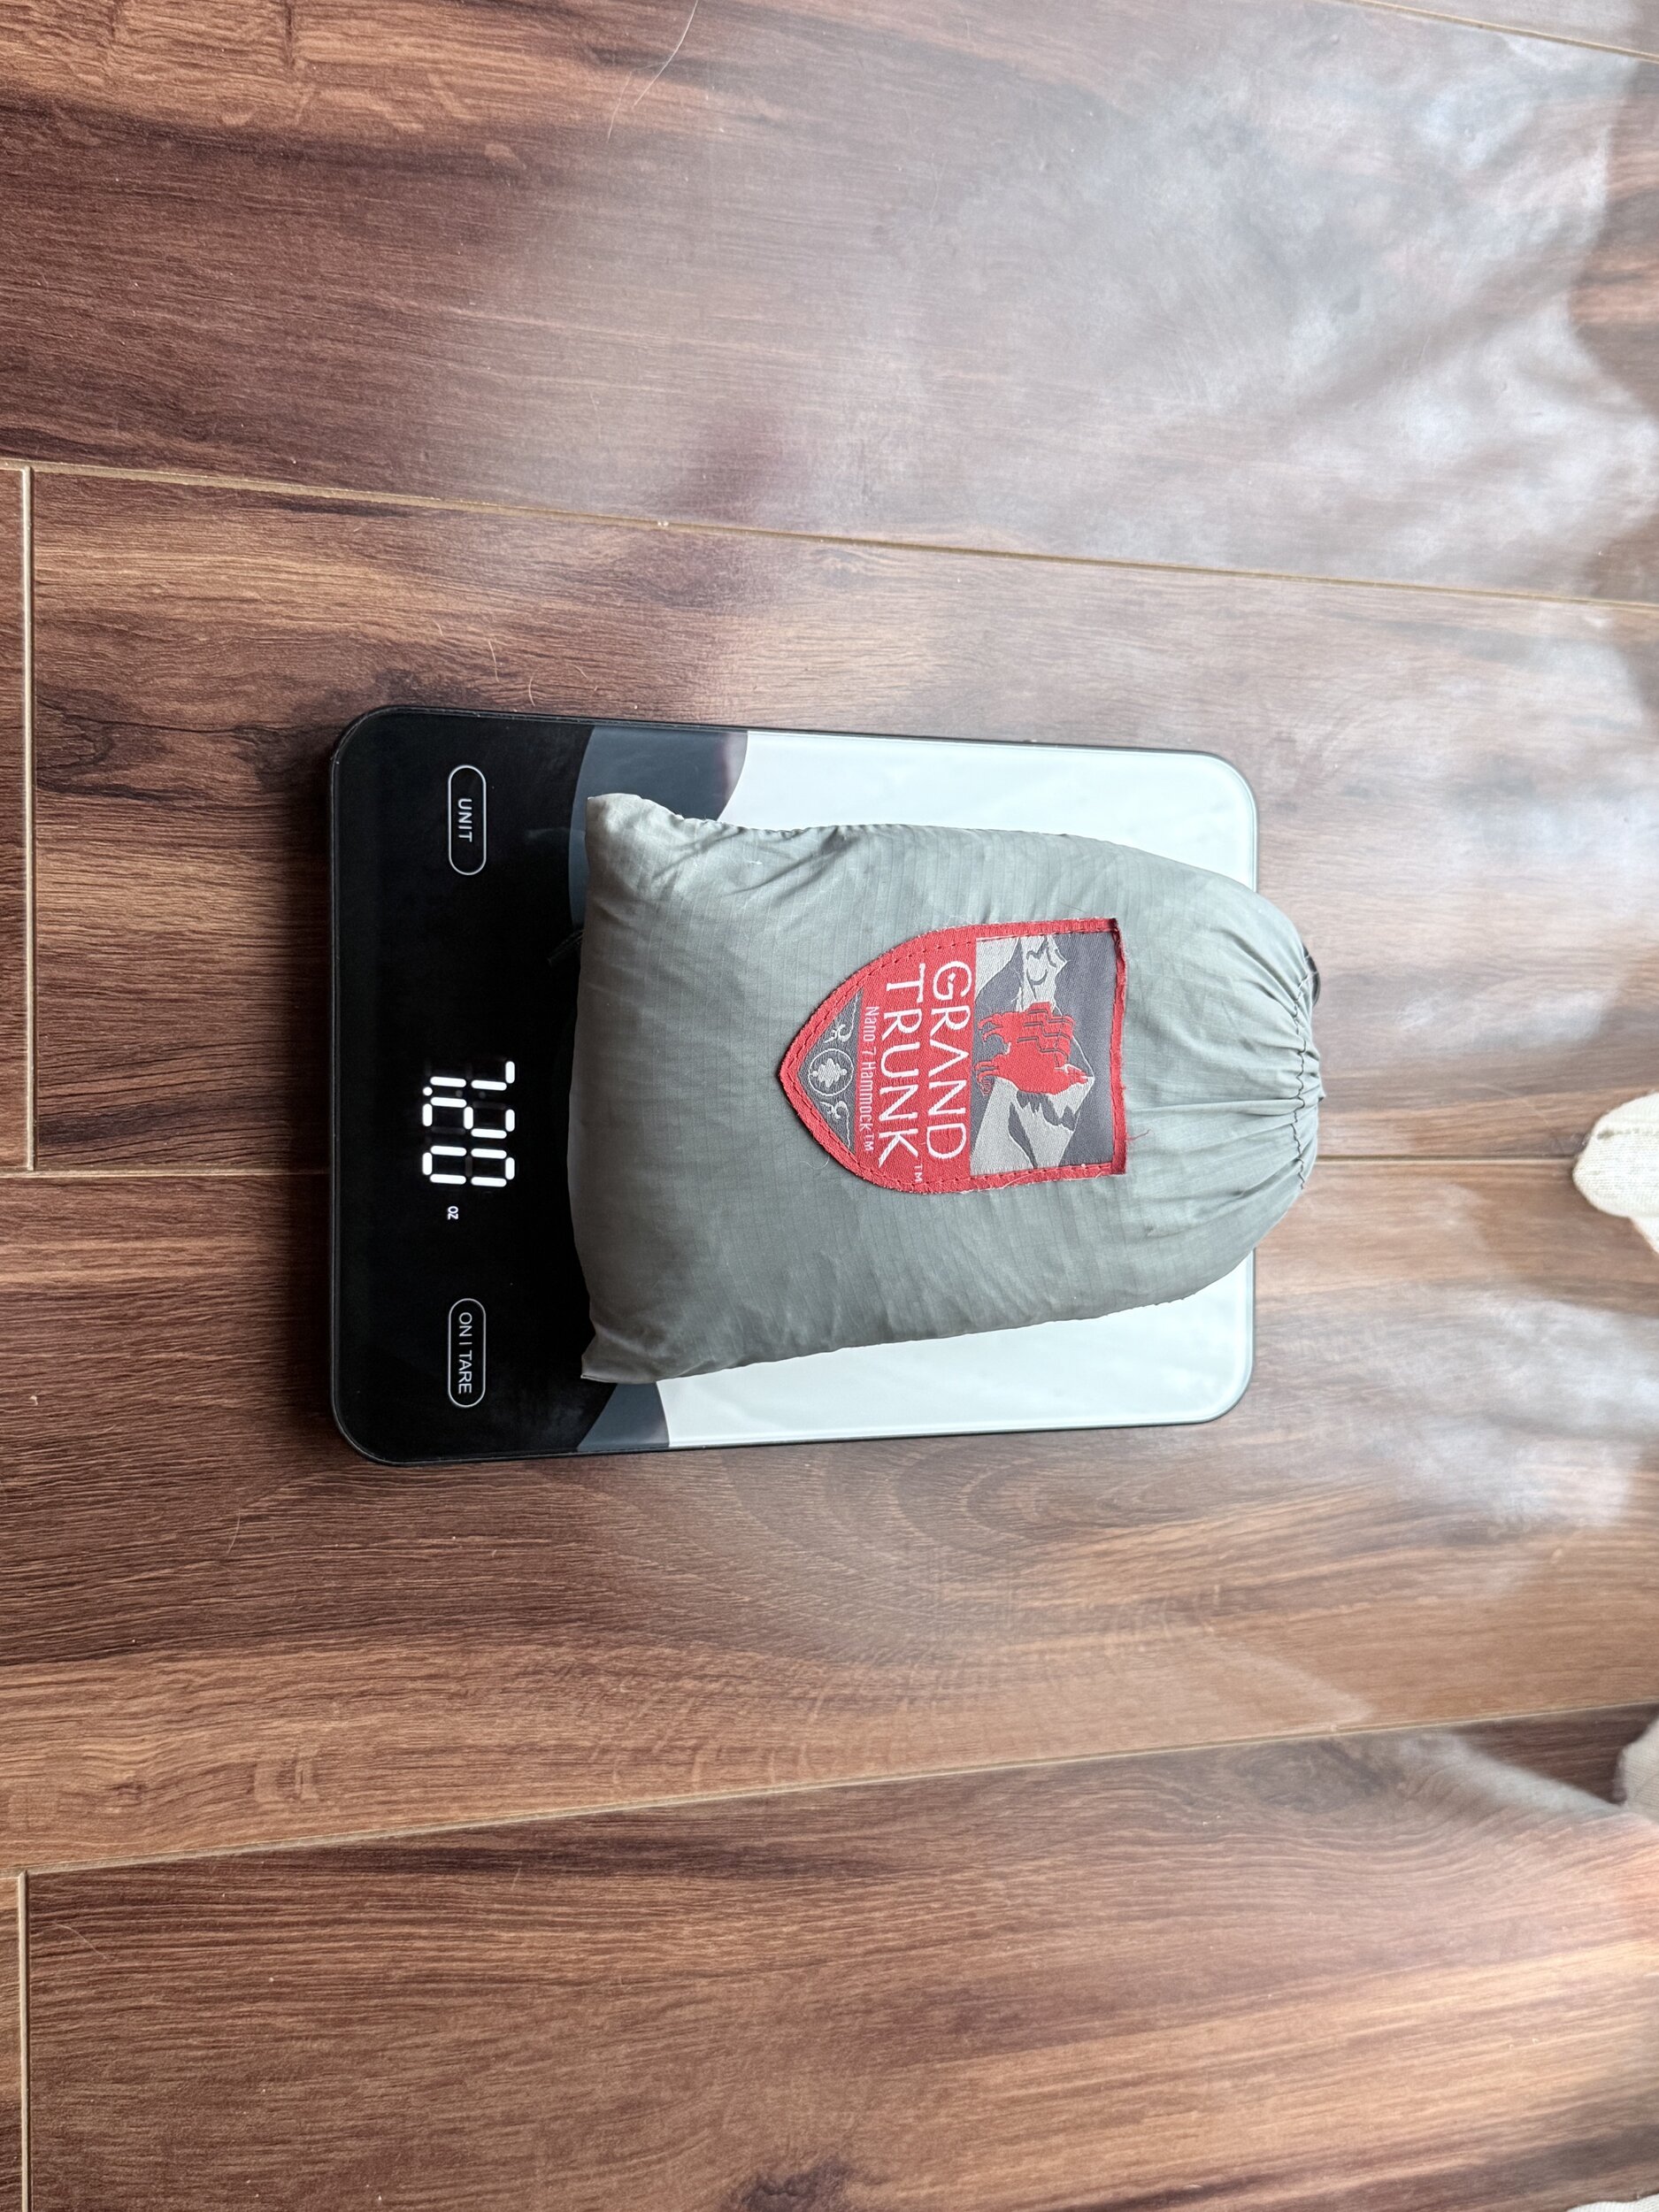
My original Nano-7 on the kitchen scale, packed in its attached sack. This is the pictured bundle—not a complete overnight system.
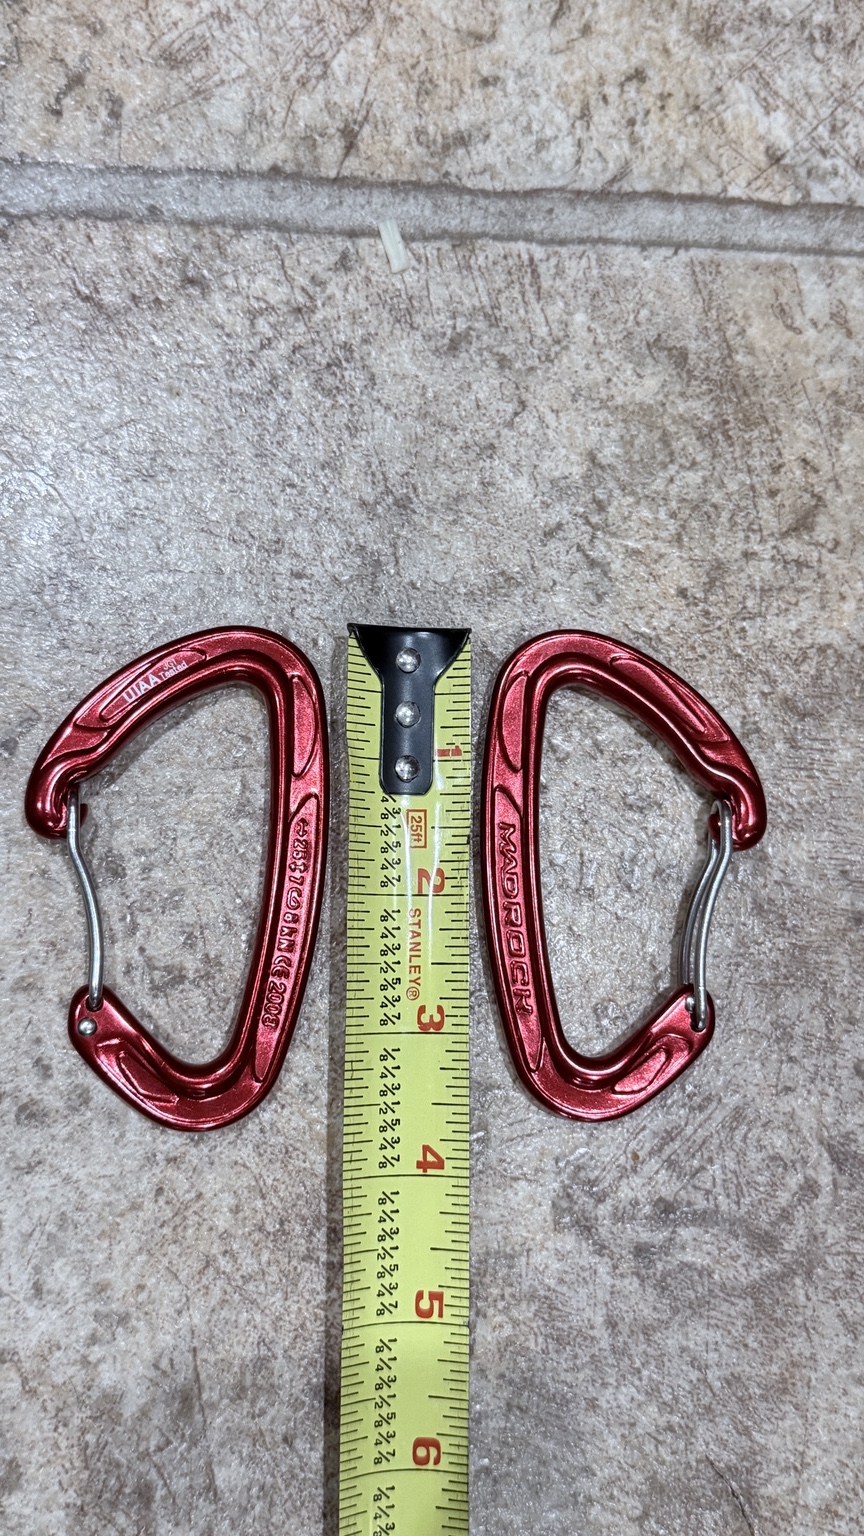
What the carabiners do—and what you still need
The carabiners provide the clip-in connection between the hammock ends and compatible suspension. Their wire gates open to accept the attachment loop, then close to retain it. With looped hammock straps, that lets you disconnect the hammock without untying the straps around the trees.
They do not replace tree straps. A separate suspension system such as ENO Atlas hammock tree straps belongs on the packing list. For a newcomer, that is the important distinction when unpacking: the hammock and connectors are only part of the hanging setup. Include your suspension in both the shopping list and the packed weight.
Use sound trees or purpose-rated hammock anchors and tree-friendly, appropriately rated straps. Inspect the hammock, hardware, suspension and ground before each hang; keep the bed low over a clear area. A porch post, railing or fence built for vertical loads is not a safe substitute for a verified hammock anchor.
Why the small package mattered to me
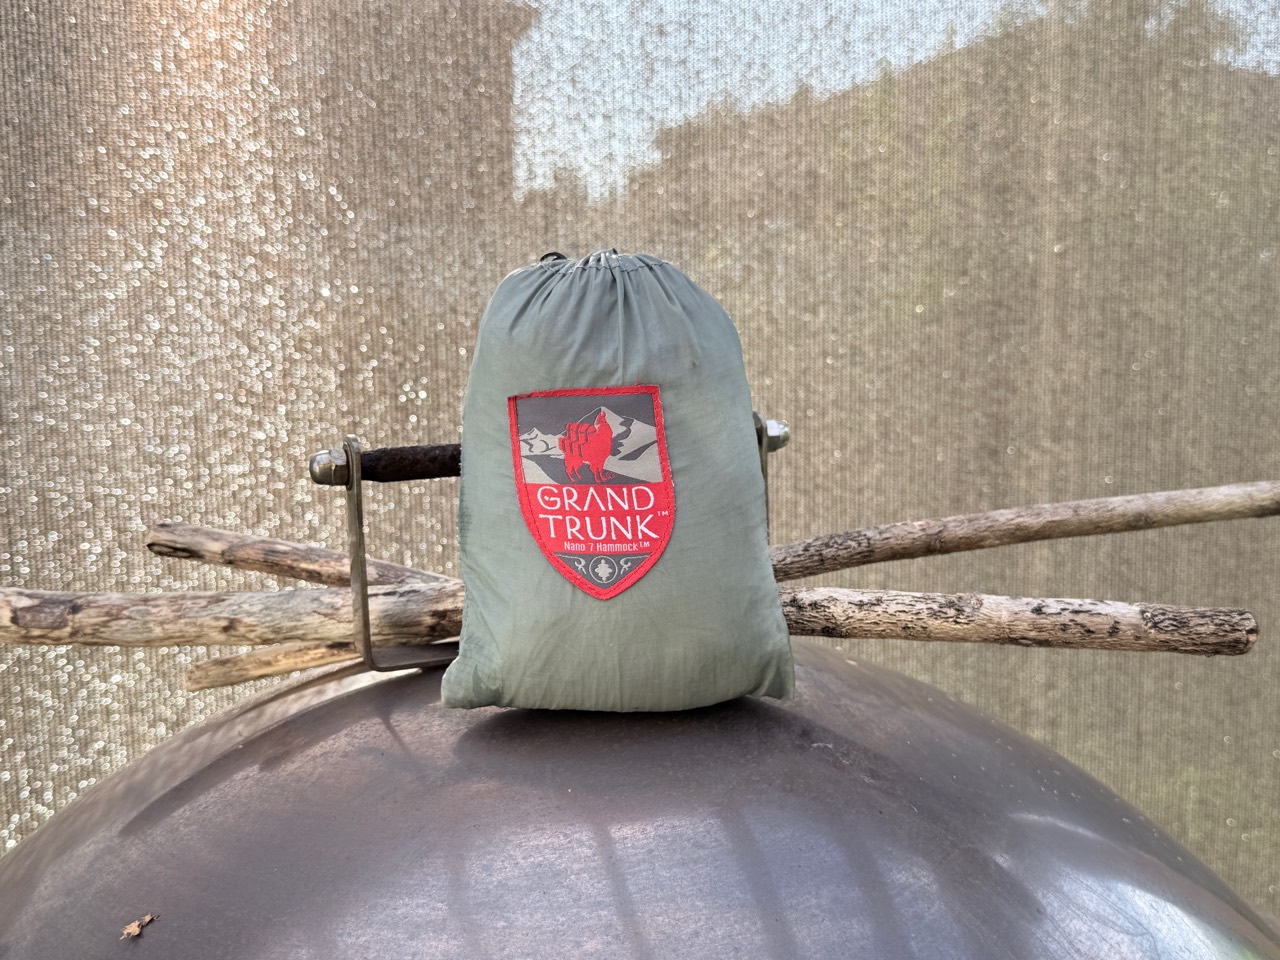
The attached sack keeps the packed hammock together without a separate bag to keep track of. But the feature that sold me was the size of the whole package: it fit comfortably in a cycling jersey pocket. Carrying it did not have to become a separate packing decision every time I went out.
That is where I see the Nano-7’s strongest role: a hammock you bring because it takes up so little room, whether the plan includes an overnight stop or simply somewhere to recline along the way.
Durability: the original hammock, no repairs
The hammock in my old bikepacking photos is the same Nano-7 I own today. Since buying it in 2010, I have not needed to repair it. The lightweight fabric did not make it a short-lived purchase in my use.
My additions were about extending what I could do with it. The DIY net addressed insects; the foil bivy was an early insulation experiment; the Scout fly added rain coverage. None was a repair to the hammock.
This is a long-term owner account of my original unit, supported by current photographs of its packed form and older photographs of my field setup. The specifications above describe the model Grand Trunk sells now; I have not established that every component of my 2010 hammock matches current production. I am not treating the manufacturer’s listed weight as a verified measurement of my own complete setup.
Comfort: where I draw the line
I fell in love with having a hammock along, but I did not insist that the Nano-7 had to be right for every trip. I drew the line when I expected its compact size to reduce the quality of my rest enough to detract from the overall adventure.
That distinction matters when choosing accessories. A bug enclosure can address insects and a fly can add rain protection, but neither gives you more room in the hammock. If the body itself is the limitation, another accessory will not solve that.
For me, choosing a different overnight system did not erase the Nano-7’s value. I could still enjoy carrying the smaller hammock for the activities it suited.
How I adapted it for overnight trips
While other hammock enthusiasts were searching for the “best” hammock, I focused on making the one I had useful for the adventures I wanted to do. Each addition started with a problem.
Bug protection: why I made the “shark cage”
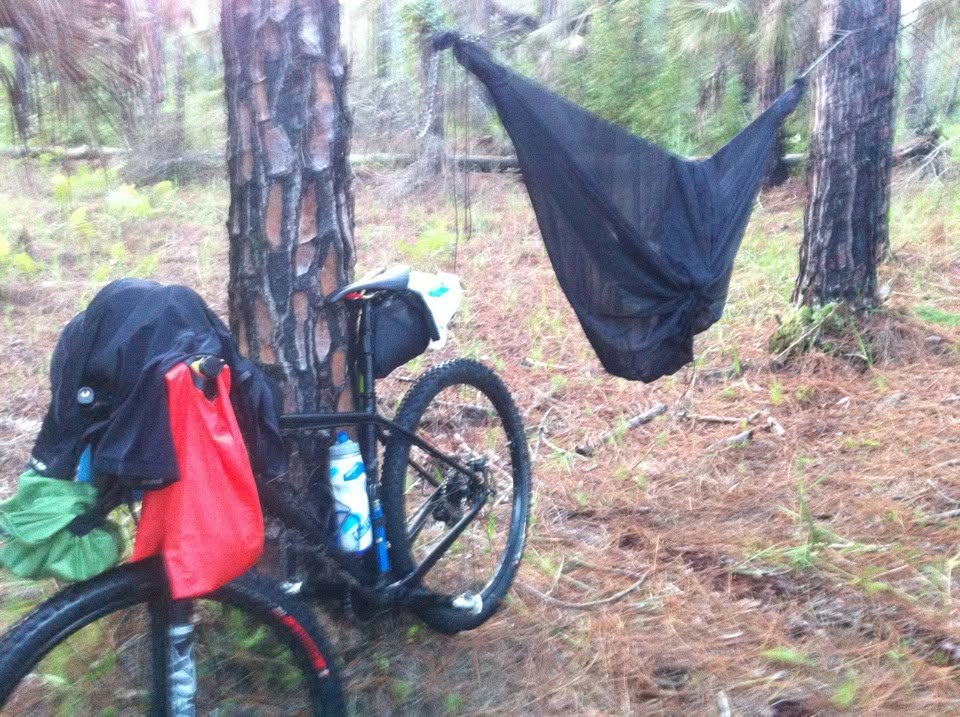
At first, I tried covering up with a foil bivy and wearing a bug net over my head. I still got bitten all night through the Nano-7’s ultralight fabric. Covering my head wasn’t enough.
That was why I made a bug net to enclose the hammock. I had made all my bike bags except the seatbag, so sewing my own gear was already part of how I put a setup together. My buddy Karlos “Single Track Samurai” called the net the “shark cage.”
I also owned a separate enclosure similar to the style Grand Trunk and other brands sell. If I were spending a night in the Nano-7 today, I’d choose a dedicated enclosure that surrounds the hammock, including underneath. Shop hammock bug nets.
Insulation: the foil-bivy experiment
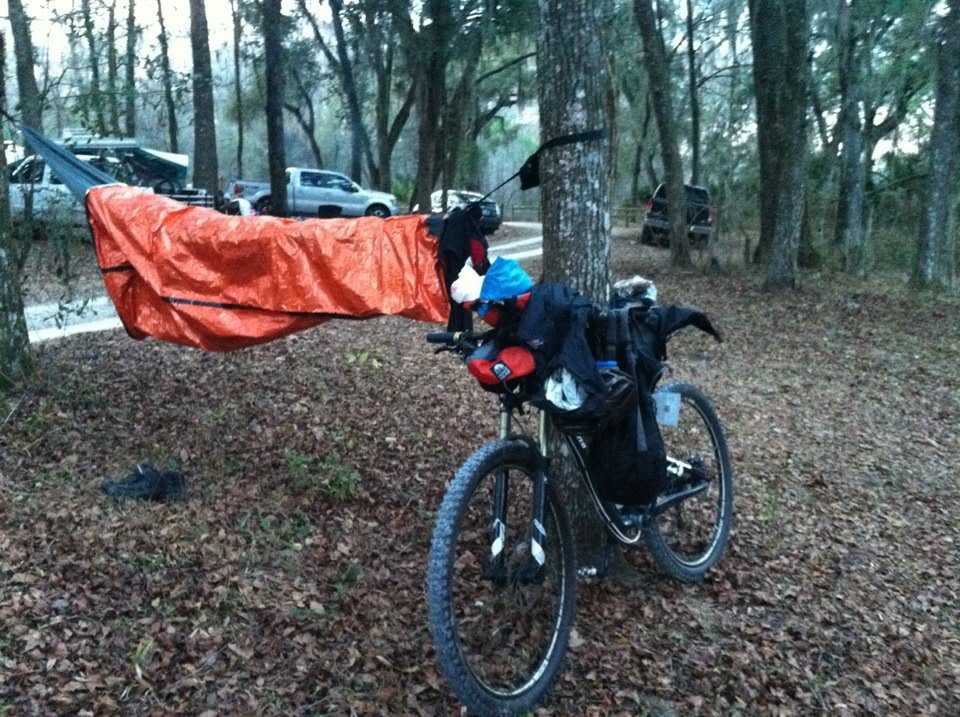
One early lightweight insulation solution was a foil bivy arranged under and over the Nano-7. It was part of figuring out how to make the hammock I already owned useful overnight. It also taught me that covering up and keeping insects out were separate problems.
Rain cover: the Scout fly’s useful tradeoff
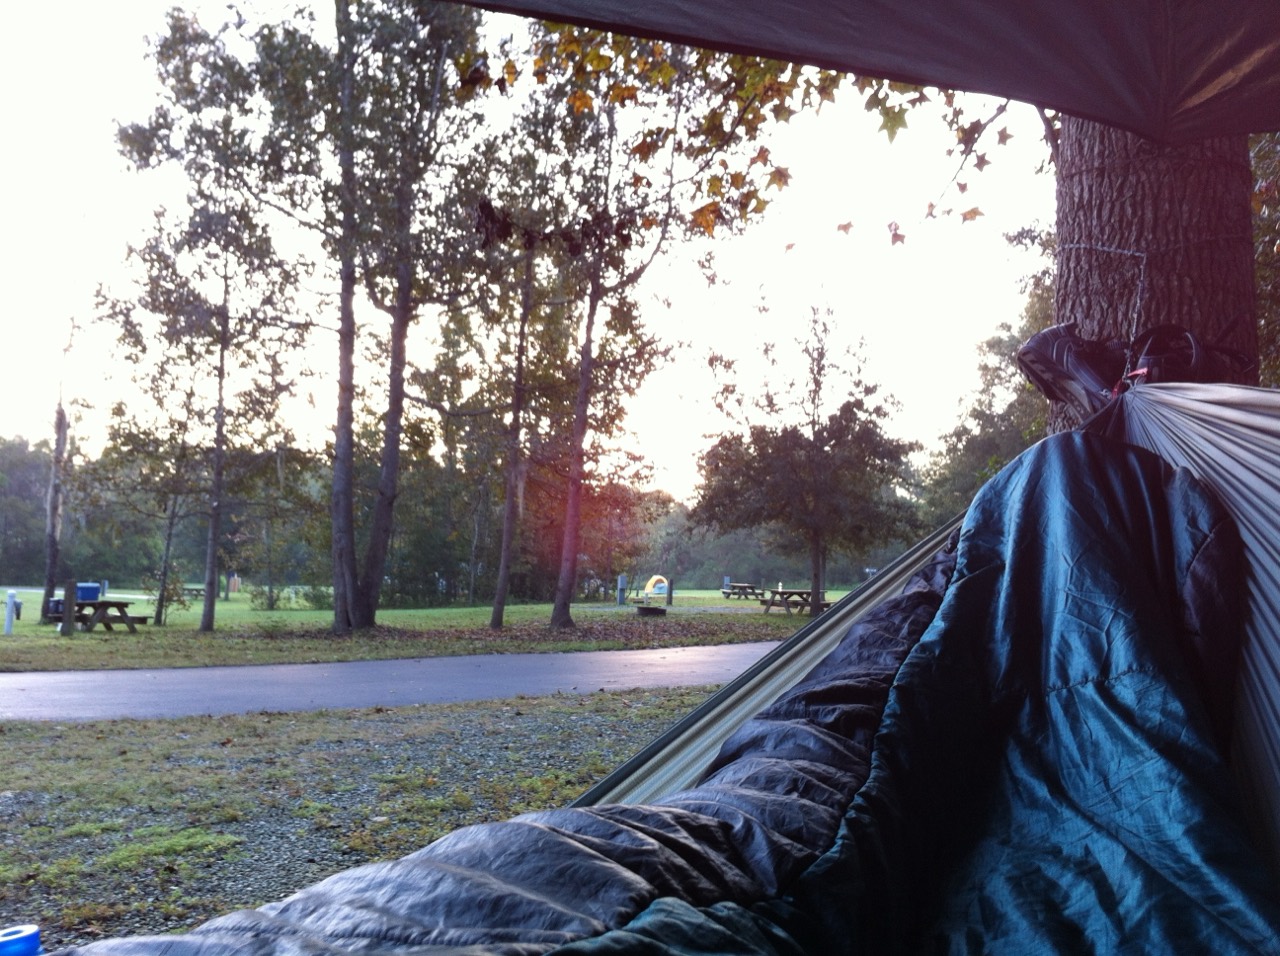
Karlos gave me an asymmetrical fly from a Hennessy Scout, which I used over the Nano-7. I liked the view and openness, and it provided enough coverage for much of the Florida weather I encountered. When conditions deteriorated, I could pull the sides tighter. Wind-driven mist remained a weakness.
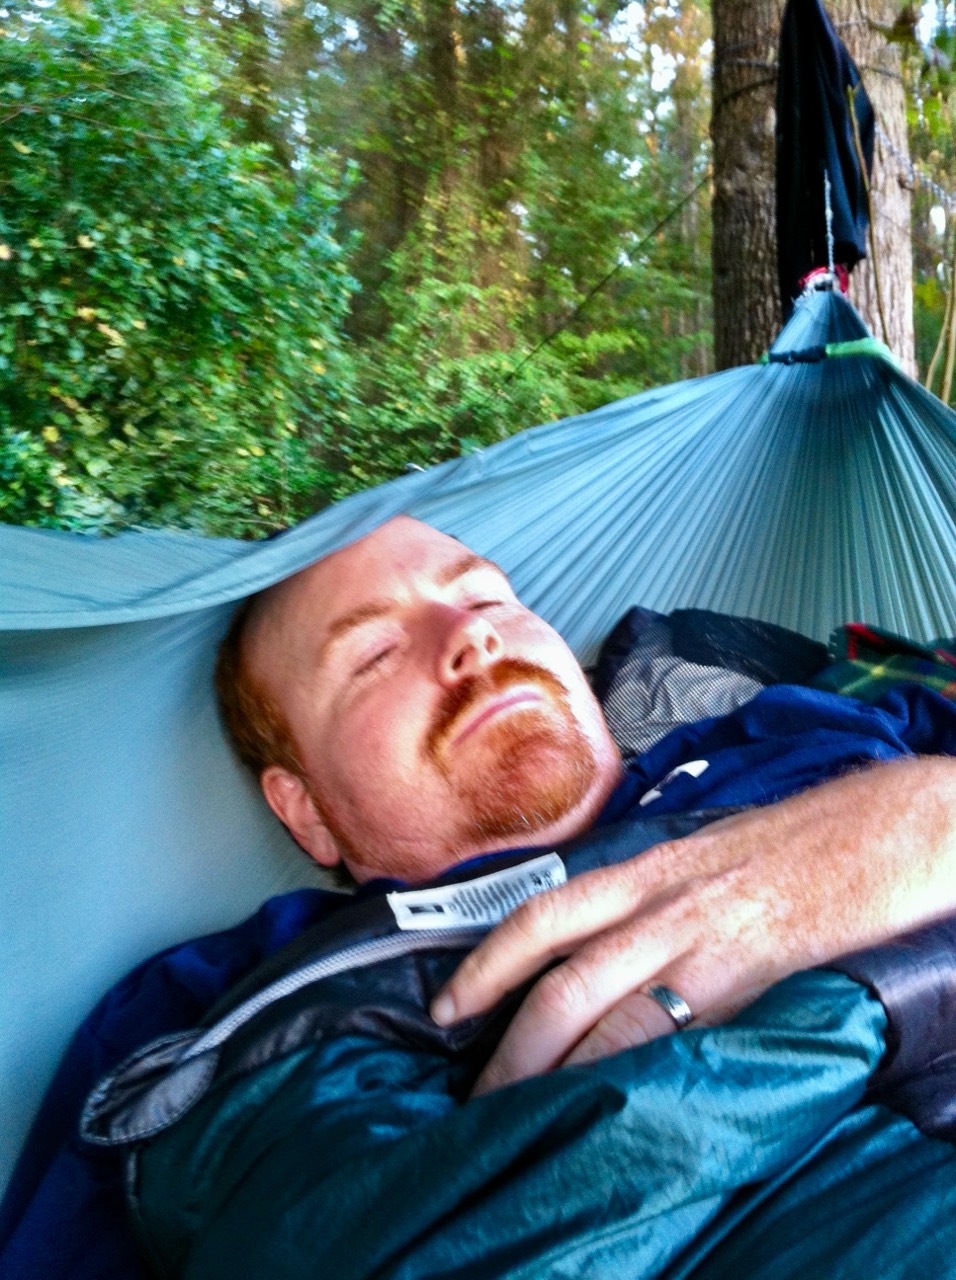
At Santos campground, on a multi-day training ride for one of my CFITT attempts, I slept in the Nano-7 under an asymmetrical fly. The field photographs in this review show me resting in the hammock and the view from beneath the tarp.
The open view was a benefit; the margin against wind-driven weather was the tradeoff. Site exposure and the direction of the wind mattered. The Scout fly eventually ripped after years of sun and UV exposure and is now retired.
Is it worth building an overnight setup around it?
If you already own a Nano-7 and enjoy resting in it, adding protection can extend its usefulness. That was my approach. The calculation changes if you need to buy the hammock, suspension, net, rain cover and insulation all at once.
Compare the cost, weight and bulk of the whole setup. The little hammock that fits in a jersey pocket is only one part of what you will carry overnight. Also consider whether the accessories can move to another hammock if your needs change.
- Mostly lounging: the Nano-7’s small package is the attraction. You do not need to buy an overnight system just to enjoy carrying a hammock.
- Occasional nights out: adapting it makes sense when you are comfortable in the hammock and the added protection suits the trip.
- Repeated overnight use: give the quality of your rest priority. If the compact body is holding you back, put the money toward a hammock better suited to that job.
My Nano-7 brought me into hammock camping because I could take it so easily. I kept making it useful, and chose something else when the trip called for it. That is why it still has a place in my gear.
If that sounds like your primary use, see the current Nano-7 listing. If regular overnights are the real goal, start by choosing the full shelter system—not by treating the lightest hammock body as the whole purchase.